Simple and quick example on how to deploy a .NET Core application with Bitbucket Pipelines to Azure App Services.
Create a deployment user
Select the Cloud Shell button on the top-right menu bar in the Azure portal.

Azure Cloud Shell requires an Azure file share. If you don’t have one you will be asked to create one in the next step.
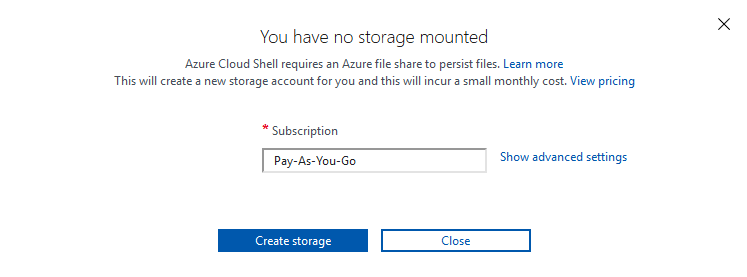
This can take a while. After the successful creation of the Azure file share we are able to use the Azure Cloud Shell.
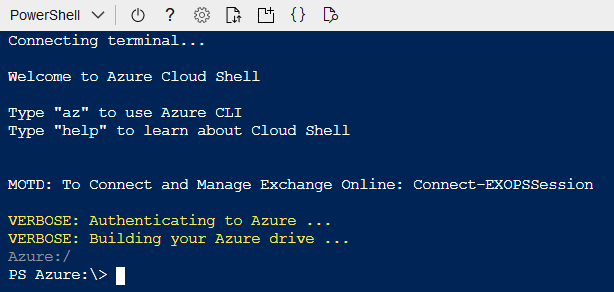
Create a new deployment user with <username> and <password>
az webapp deployment user set --user-name <username> --password '<password>'Get GIT Deployment Repository
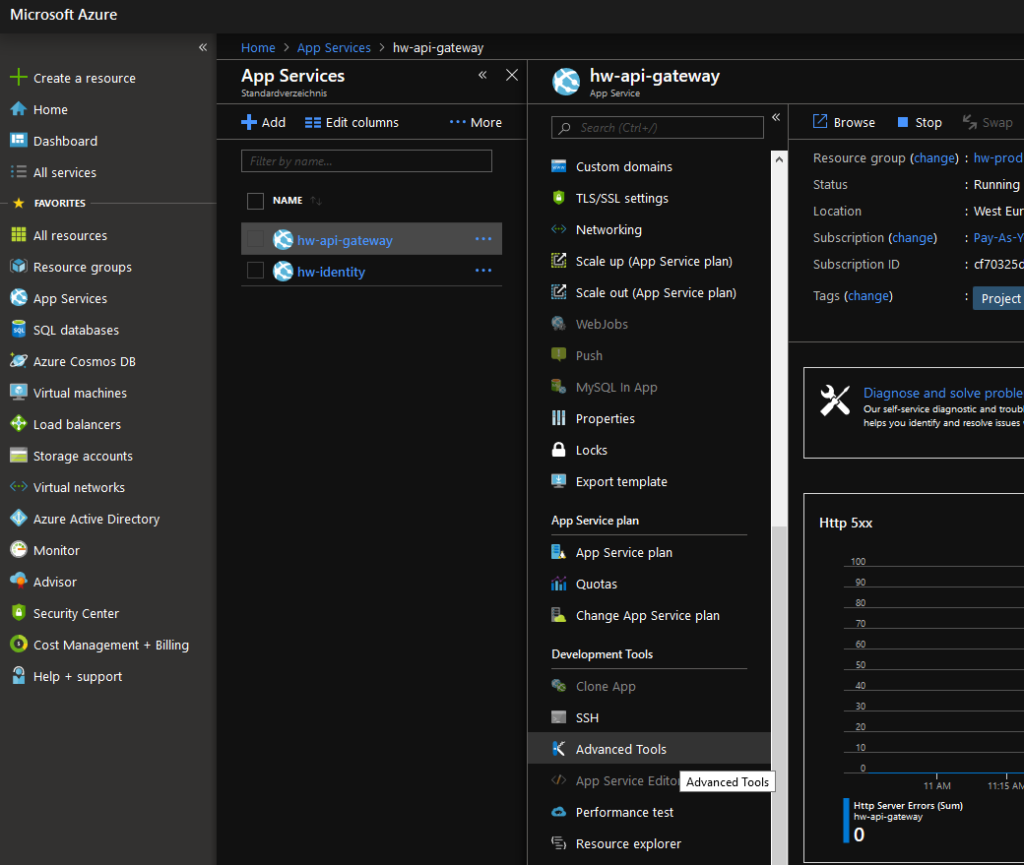
Go Advanced Tools in your Azure Service App:
Then click on Source control Info to see your GIT Repository URL.
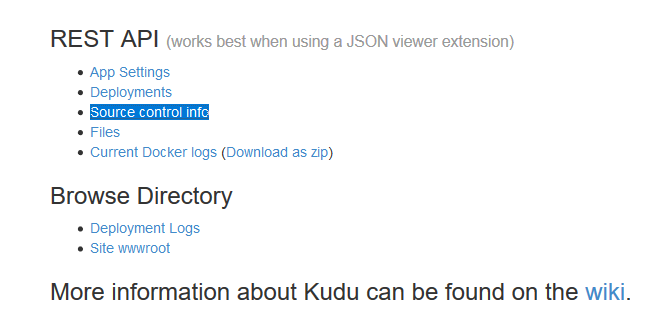
The Azure App Service GIT URL, the Deployment Username and Password will be used to deploy from Bitbucket Pipelines to Azure App Service.
Configure Bitbucket Pipelines for Azure Git Deployments
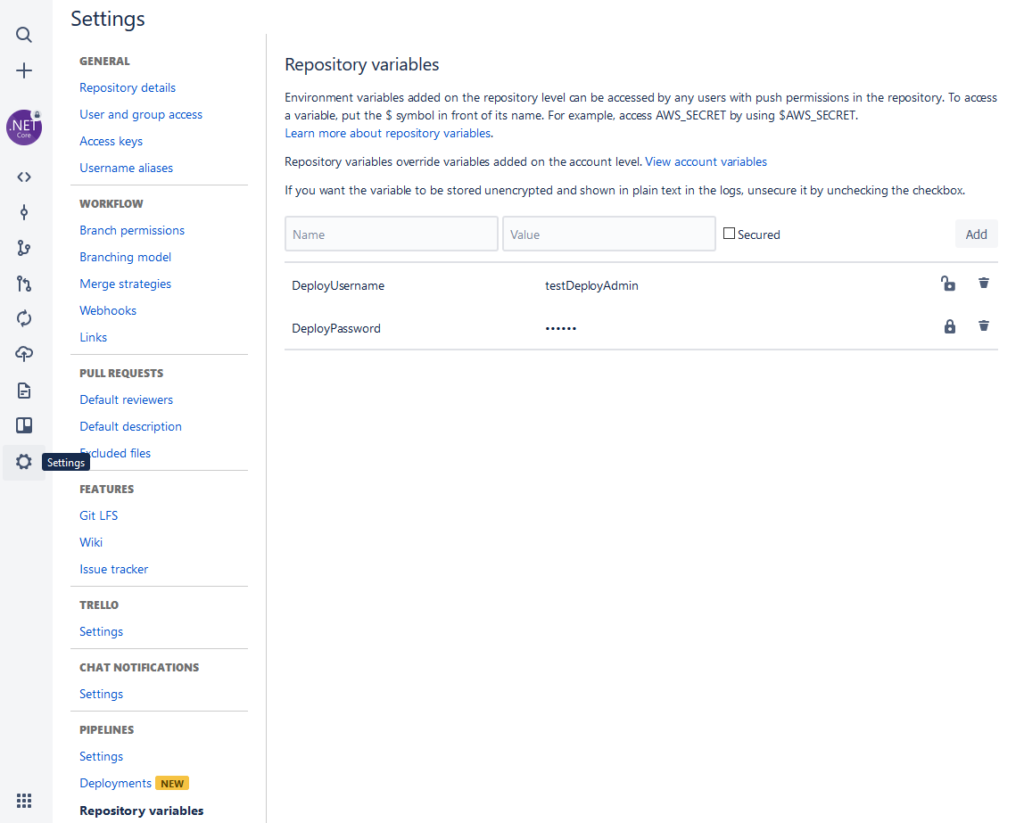
Go to the Repository Settings and store the Deployment Username and Password as Repository variables in the Pipelines Section.
Using git push to Azure App Service in bitbucket-pipelines.yml:
image: microsoft/dotnet:sdk

pipelines:
  default:
    - step:
        caches:
          - dotnetcore
        script:
          - export SOLUTION_NAME=<SolutionName>
          - dotnet restore $SOLUTION_NAME
          - dotnet build $SOLUTION_NAME
          - git push --force https://${DEPLOYMENT_USERNAME}:${DEPLOYMENT_PASSWORD}@<azure-app-service-git-repository> HEAD:refs/heads/master

